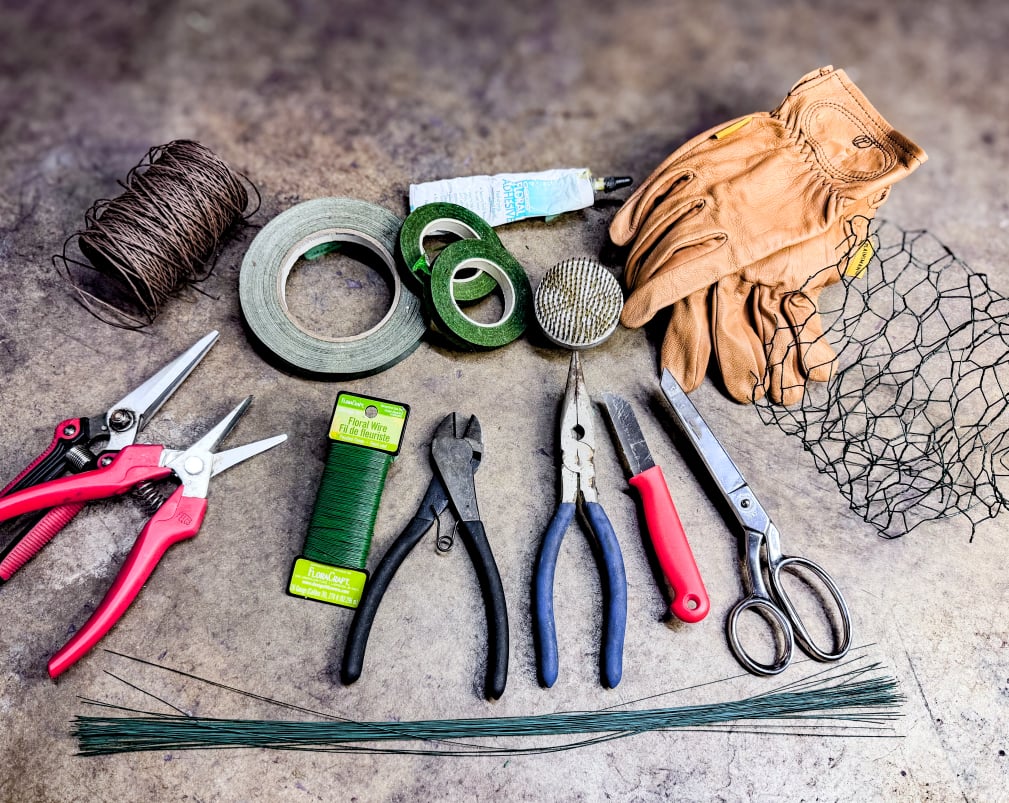
Floral Tools


Let’s Talk Tools!

Floral Design Starts with the Right Cutter

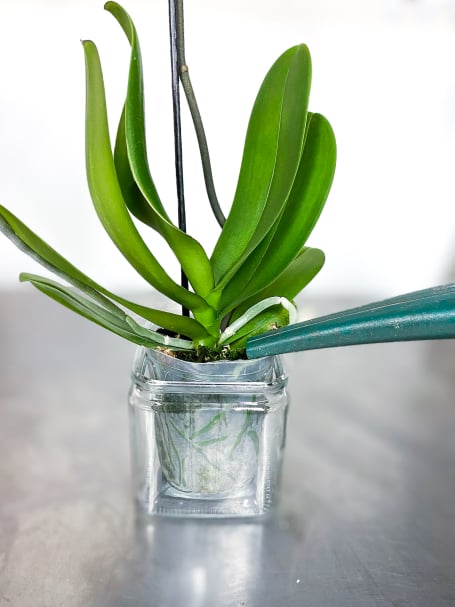
Before placing your first stem in a vase or arranging your dream bouquet, gather the right tools—starting with a dependable floral cutter.
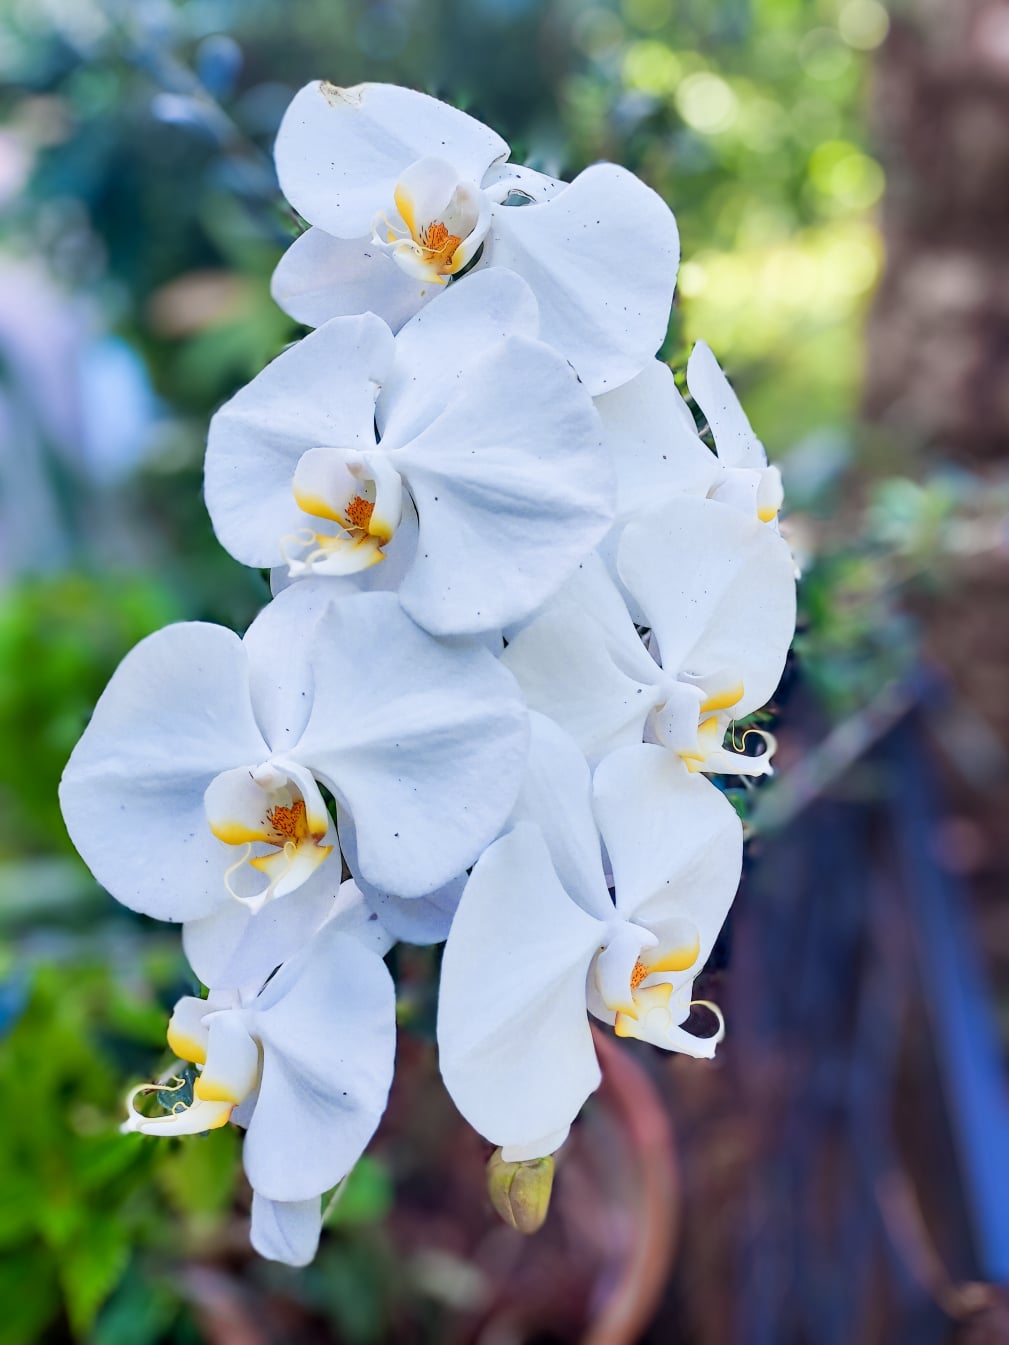
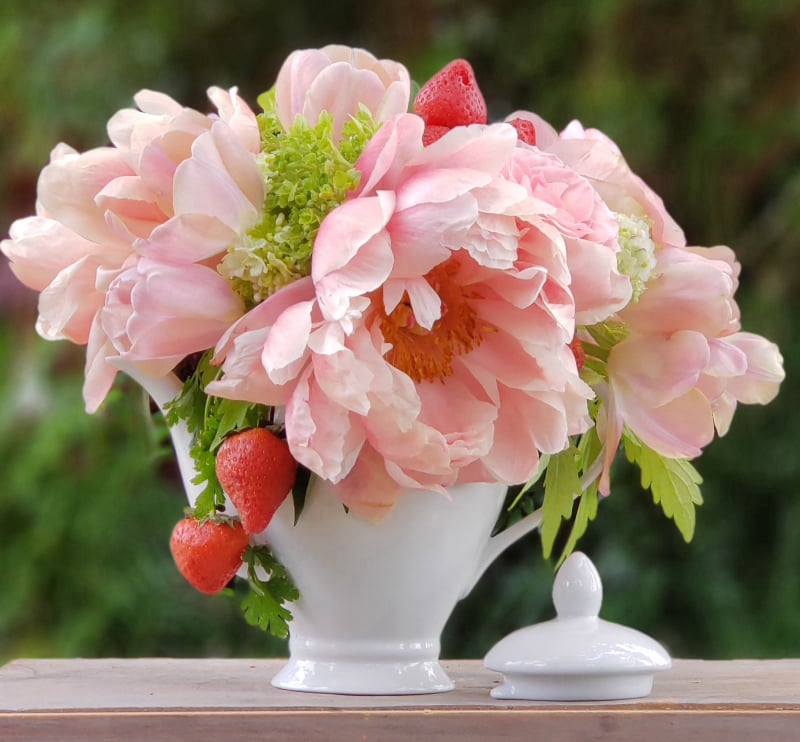
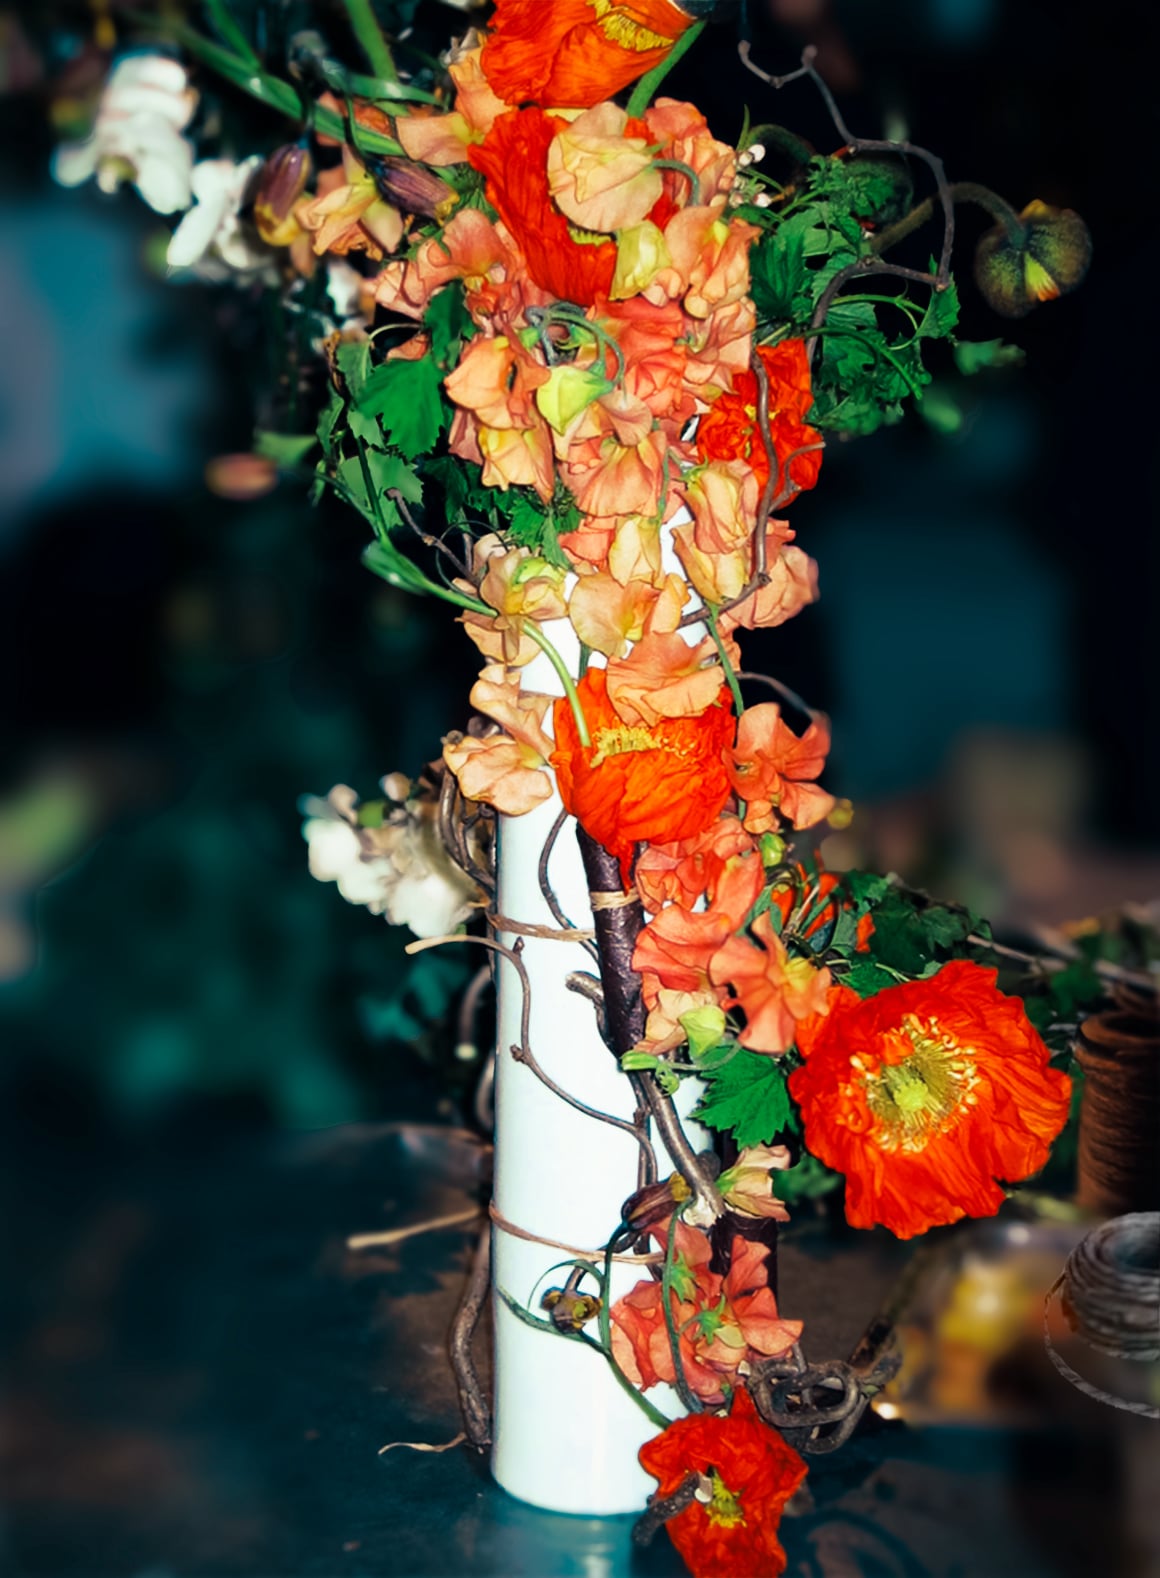
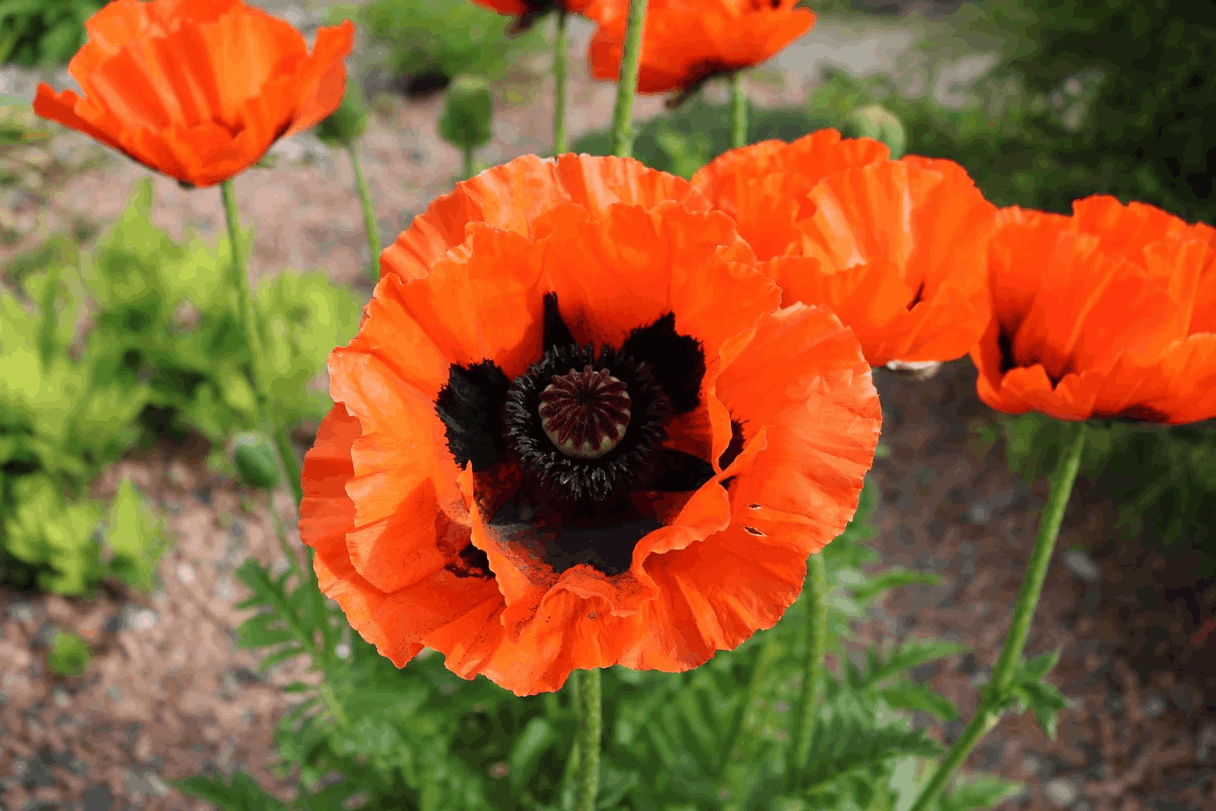
A good floral cutter is essential for clean, sharp stem cuts that help the flowers drink water efficiently, stay fresh longer, and allow for a precise sculpted look to the arrangement. And the floral cutter should be comfortable to use! Have you ever tried cutting a stem of hydrangea or a rose with regular kitchen scissors? Frustrating right? It’s like cutting a carrot with a butter knife leaving you with a sore hand and a jagged ugly stem! A good floral cutter feels natural and comfortable in your hand with little stress cutting through the toughest of stems and carry on cutting all day long!

Here's a few tips to keep in mind when selecting the right floral cutter:
• Comfort and quality go hand in hand.
• A stainless-steel blade is the best choice as they stay sharp longer, resist rust, and give you those clean cuts that help flowers stay fresh longer.
• The handle should allow for a soft ergonomic grip that feels good in your hand. It makes a big difference, especially when you're prepping a lot of stems for a big event or bouquet order. A well-designed handle gives you that little extra support, letting you focus on your creativity instead of sore hands. It’s a small detail that makes a BIG difference. Your hands are your most important tools—treat them kindly!

Different floral cutters serve different needs—some are great for delicate flowers, others for woody stems. Consider what types of flowers you work with most and choose accordingly. Just like a chef wouldn’t use one knife for everything, a floral designer needs a few key tools to work efficiently, and most important, safely.

The Best Gloves for Safety, Comfort, and Utility


The next important tool that is often overlooked, but incredibly essential, is a good pair of gloves. Whether you're handling thorny stems, working with wire, or prepping arrangements and flowers for hours, gloves can be a small but mighty way to protect your hands.
Here are a few types of gloves that can make your work safer, more comfortable, and more enjoyable:
Thorn-Resistant Gloves
Roses are beautiful—but their thorns? Not so much. When you're processing bunches of roses, especially during wedding prep or holiday rushes, those tiny thorns can really take a toll on your hands. Thorn-resistant gloves give you just the right protection to prevent those little cuts, scrapes, and scratches, so you can focus on shaping your blooms—not nu
sing sore fingers. That’s where thorn-resistant gloves make a world of difference. They are comfortable, durable, and made for the job. Thorn-resistant gloves are a small investment that will save you a lot of discomfort.
Thick or Padded Gloves
When you're working with floral wire, wreath frames, or shaping chicken wire for a floral installation, a thicker pair of gloves can be a real lifesaver. Wire might seem harmless at first, but it can dig, poke, or even cut into your hands, especially during large projects or detailed work. A sturdy glove gives you that added layer of protection so you can stay focused on creating without the distractions of discomfort and layers of band-aides!
Latex or Nitrile Gloves
In floral design, things can get a little... messy. Whether from sap, pollen, or decaying leaves (yuck!), your hands go through a lot in a day. Latex or nitrile gloves are a great lightweight flexible alternative to thicker gloves when you need to feel and finesse every stem with care and precision; all while keeping your hands clean, protected, and ready for the next arrangement. Plus, they’re inexpensive, disposable, and easy to slip on and off so you can go from messy prep to fine-tuning a bouquet in no time.


Your Time-Saving Floral Sidekick: The Floral Stripper

If you love working with flowers but dread the tedious task of removing those pesky leaves and stubborn thorns, the flower stripper is about to become your new best friend! This handy little tool is designed to quickly and gently remove leaves, thorns, and unwanted foliage from your flower stems saving you precious time and protecting your hands (We really are serious about our hands as you can tell!). With just a simple glide down the stem, the floral stripper clears away what you don’t need, leaving a clean stem with a ready-to-arrange bloom.
The floral stripper is more than just a time-saver. Removing excess foliage and thorns helps reduce bacteria and germs which means your flowers can absorb water more efficiently and stay fresh longer. The floral stripper also gives your arrangements a cleaner, more professional finish because the little details really do make a difference.
For florists of all levels, the floral stripper is a quiet hero in the toolkit as a simple, effective, and surprisingly satisfying tool that helps you work smarter (not harder). 

Orchid Plants Care


Caring for Orchids

Orchid Placement

The perfect spot for your orchid would be in the brightest room of your home, but not on the windowsill. It is best to keep them away from any drafts and vents. Orchids like consistent temperatures.

Watering Orchids

The first step is to check the roots of the orchid before watering. If the top roots feel firm, they are perfect! If they feel dry, that means it is under-watered. The opposite if they feel mushy and gray, then they are over-watered. Orchids do not require much water. They can be watered once per month or every two weeks. They only require about 60ml, or ¼ cup, per plant. Room temperature water is best and should go on the roots, not the leaves.

Maintenance

Orchids like humid environments. Misting the plants, both blooms and leaves, will create a humidity “field” for the orchids. You can also place a tray, with gravel and fill it with water until it touches the top of the gravel, under the orchid. The evaporation will create humidity for the plants. They do not like stagnant air. Be sure to have proper air circulation in the room for the plants to thrive. Keeping an eye on the leaves, also helps determine the state of the plant. If the leaves are yellow, it is under-watered. If they are brown, they are exposed to too much sunlight and/or low humidity.

For those who prefer to keep orchid plants in an outdoor environment, keep in mind their needs — many outdoor orchids have specific habitat requirements, such as high humidity, moderate temperatures, and dappled shade.

On our next project, orchid enthusiasts share their tips on introducing orchids to the outdoors. Stay tuned, and in the meantime, a great source for viewing exotic orchids in their natural environment is Big Cypress National Preserve, located on the west coast of South Florida. If you're lucky enough to visit this preserve, keep an eye out for the 'Ghost Orchid,' a rare and endangered orchid that flowers only in June and July. Don't forget to share your favorite orchid photos with us!

Orchid Care
Well watered, healthy orchid plant
Dry Orchid Plant
Dry orchid plant in need of water
Over watering orchids
Yellow, mushy leaf, a sign of over watering
Watering Orchid Leaves
Avoid watering the leaves, as they may rot
Correct way to water orchid plants
Water only the base of the plant to keep it healthy and free of rot
creating a peony arrangement

Working with Peonies

Key Tips for Designing with Peonies

- Remove all leaves from the stems to prevent bacterial growth and facilitate more water to the blooms.
- Make a fresh, angled cut on the stems before placing them in water to improve water uptake.
- Use peonies in your design when in the "marshmallow" stage. This is when the peony is in a soft, airy bud form that is squishy.
- Avoid using buds that feel hard and dense, which are in the 'golf ball' stage; these are less likely to open.
- Familiarize yourself with the specific variety of peony you're using, as many tend to fade or even change color over a three-day period.
- Avoid grouping peony buds too closely in your arrangement; allow space for them to open.
Typically, they will expand to approximately 6 inches in diameter once fully open.

Once fully bloomed, peonies typically last only a day or two in room temperature—if you're fortunate!

Designing with Poppies - Workshop
DESIGNING WITH POPPIES

Extending the Life of Poppies

Poppies are truly captivating flowers, whether they’re growing in a garden or arranged in a bouquet. Their soft petals bring life to any setting with even the gentlest breeze. With so many types to choose from—like the classic red field poppy, the delicate Icelandic poppy, and the stunning oriental poppy—there’s a perfect poppy for every style.

These flowers easily fit into various looks, whether it's rustic, elegant, or modern, making them a favorite among florists. Poppies not only stand out for their beauty but also spark creativity and personal expression. However, they can be a bit tricky to work with at times.

To help them last longer, we use a technique called "cauterizing," which means sealing the ends of their stems. This helps stop air from getting into the flowers and allows them to take up water better, reducing wilting and keeping them vibrant.


01.

Cut the Stems

Start by cutting your poppy stems at a 45-degree angle. This angle increases the surface area for water absorption. 

02.

Prepare to Burn

Using a lighter, match or candle, gently burn the last inch of the stem. Rotate the stem as you carefully apply the flame around its circumference for about 30 seconds. The goal is to char the ends without causing excessive damage.

03.

Seal the Tip

After burning, quickly cauterize the very tip of the stem by holding the flame just long enough to seal it. This further prevents air from getting in.

04.

Immediate Placement

Immediately place the cauterized stems into your water-filled vase. With this method, you should notice that your poppies last longer and maintain their beauty. Just remember to handle flames safely and be cautious to avoid burning yourself or anything nearby!

Our Favorite Poppies

Oriental and Icelandic poppies are both beautiful and popular choices for gardens and floral arrangements, but they offer distinct characteristics that set them apart.

Icelandic Poppies

ICELANDIC POPPIES

Size and Appearance:  These flowers are smaller than Oriental poppies, ranging from 3 to 5 inches across. They come in a broader palette of colors, including white, orange, yellow, pink, apricot, gold, and tangerine, providing more variety in arrangements.
Sturdy Stems:  Icelandic poppies have long, strong stems that are ideal for floral arrangements, and these stems contribute to their impressive vase life.
Longevity:  When cut at the cracked bud stage, Icelandic poppies can last up to a week, making them the longest lasting of all poppies.

Oriental Poppy

ORIENTAL POPPIES

Size and Appearance:  The flowers are large, measuring approximately 6 to 9 inches across, with striking colors such as orange and red. Their petals resemble crepe paper and often feature a dark blotch at the base.
Foliage and Stems:  The leaves are feathery, and the stems are slightly fuzzy and curved, which makes them visually appealing and suitable for cut arrangements.
Bud Position:  The large buds face down at first, but they raise their heads as the flowers unfurl. 

© Copyright 2025 School of Flowers - All Rights Reserved